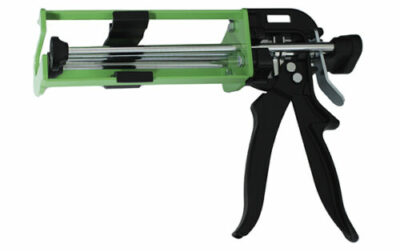
For the application of BLOCK BOND® and BLOCK BOND® FAST you need the cartridges and mixer systems tested and approved by GLUETEC. Please only use the appropriate DPM200M_green dosing gun, which was specially developed for the cartridge. The use of other mixing nozzles or dosing guns constitutes improper use and may damage the cartridge. This is expressly not a reason for complaint. Avoid skin contact with the uncured adhesive and wear protective clothing.
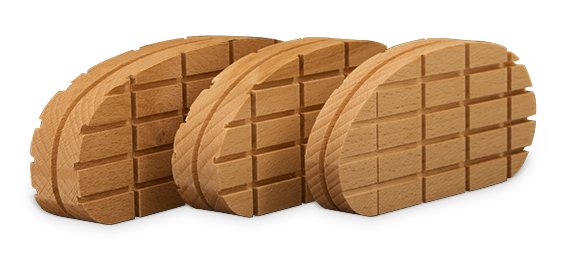
The healthy hoof to be bonded is cut to size so that the bonding surface is as even as possible. Notching or roughening the surface increases the adhesion of the adhesive to the hoof. Any imperfections can be filled by the adhesive up to a gap of 6-10 mm. The surface should be clean and dust-free, ideally dry, maximum residual moisture, but never wet.
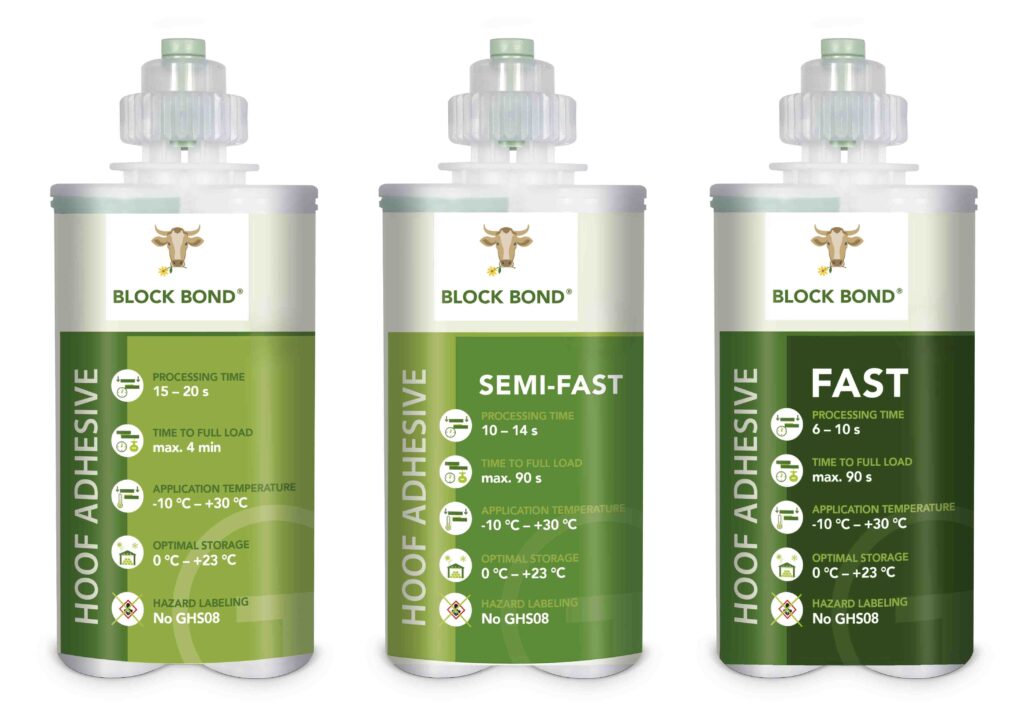
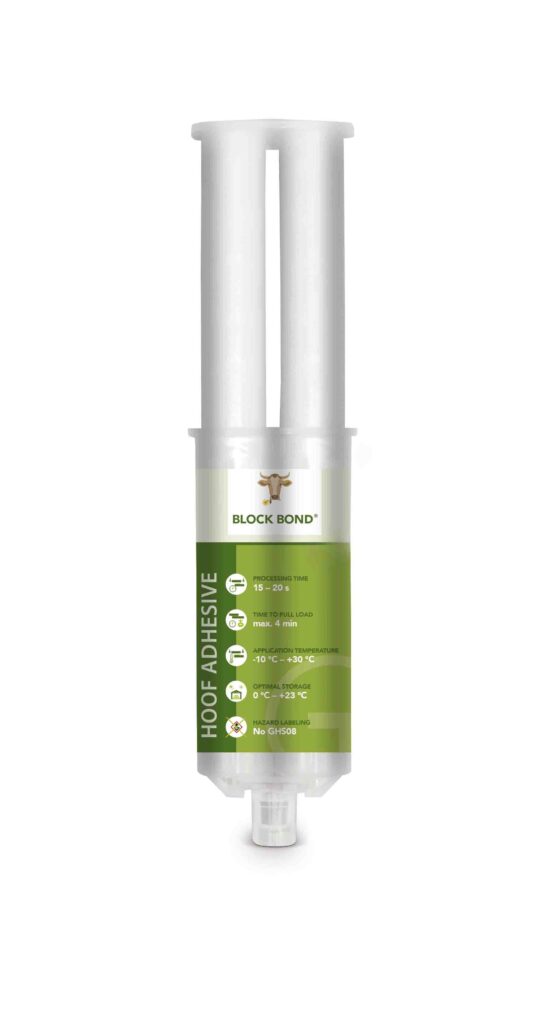
All work steps from applying the adhesive to pressing the block onto the hoof must be completed within the processing time. The processing time for BLOCK BOND® is 15 – 20 s, for BLOCK BOND® SEMI-FAST 10-14 s and for BLOCK BOND® FAST 6 – 10 s.
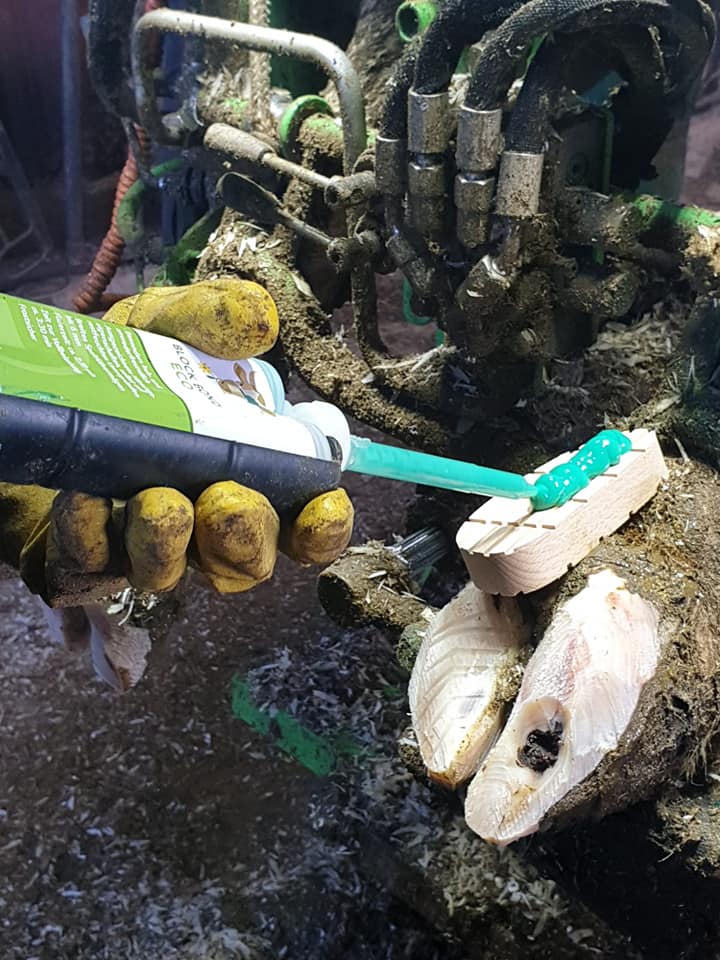
Then immediately apply the adhesive to the wooden block or hoof. Place the block on the hoof within the working time, align and press firmly to allow the stable adhesive to penetrate into each notch. Thus, the larger contact area between the hoof and the wood block improves adhesion. If necessary, the fit of the wooden block can still be corrected within the processing time. Important: Do not move the wooden block for the duration of the curing time.
Then allow the bonding to cure for approx. 4:00 min until the animal can fully load the hoof again.
A new mixing tube/mixing nozzle must be used for each bonding. The mixing tube/mixing nozzle filled with cured adhesive can remain on the cartridge/syringe after an application; the original cap does not necessarily have to be put back on.